
How to Create a Service Connection in the Azure DevOps
Introduction
A Service Connection is required for Azure DevOps Continuous Build and Continuous Release Pipelines to talk to external and remote services and execute tasks.
And Azure DevOps Pipelines support various service connection types few are Azure Resource Manager, Azure Service Bus, Github, Kubernetes, Bitbucket, Docker Registry, etc.
In this blog, we will explore how to create a Service Connection to talk to an Azure Environment which can be used by Azure Pipelines.
Prerequisites
Before you begin this guide you’ll need the following:
- Azure Subscription
- Azure App Registration (Service Principal) In This Guide you will see how to create one
- Azure DevOps Project
Create an Azure App Registration
You may have some confusions What is a Service Principal, Why we have an App Registration and Enterprise Application, is it the same?
Check out this explanation by John Savil. This video will provide much more clarity on Azure AD App Registrations, Enterprise Apps, and Service Principals.
Let’s look at how you can create an Azure App Registration to solve this
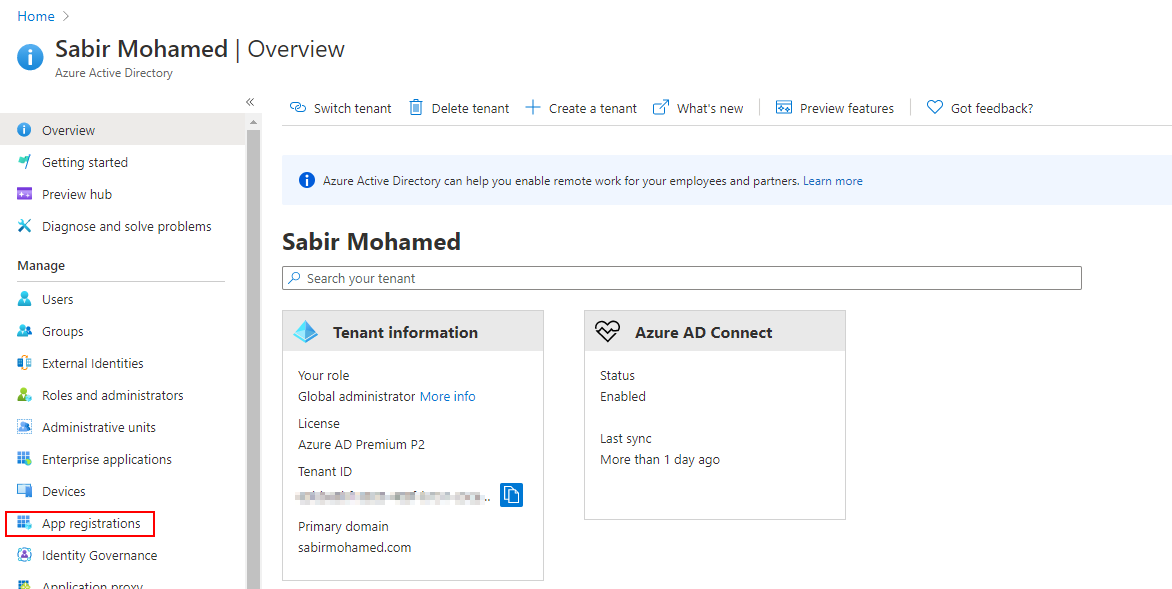
Login to Azure Portal, navigate to Azure Active Directory, and Select App registrations
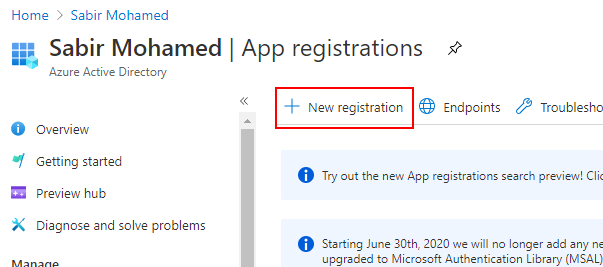
Select New Registration
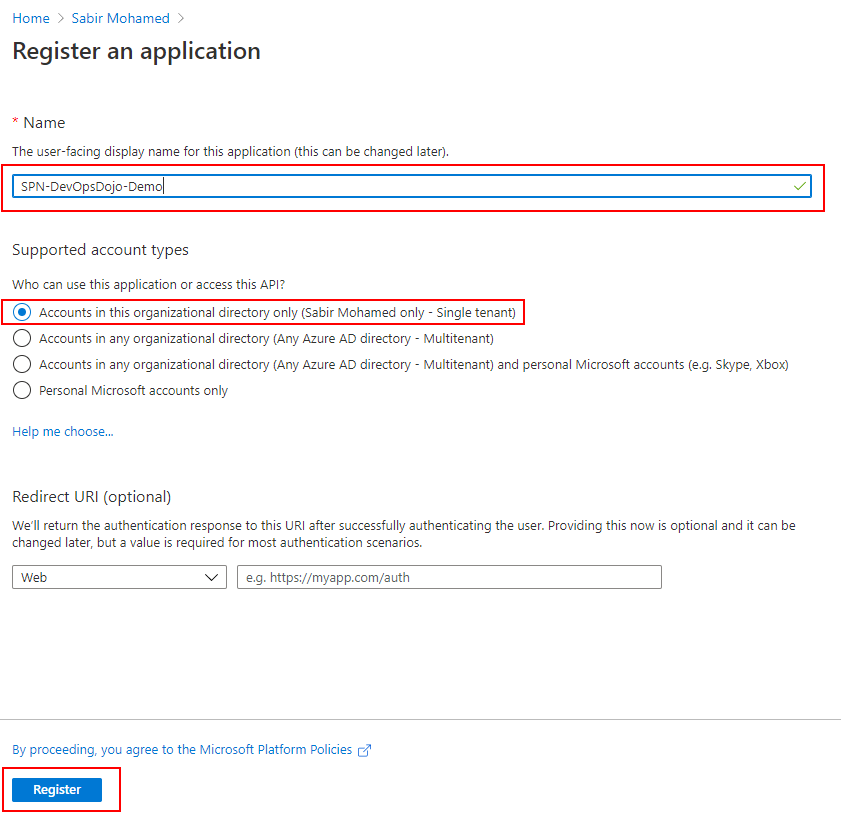
Enter a Name for the Service Principal (SPN)
Since this is a Demo Project and Only will be working on this Tenant we have Selected Single Tenant, Select Accounts in this organizational directory only
And Select Register
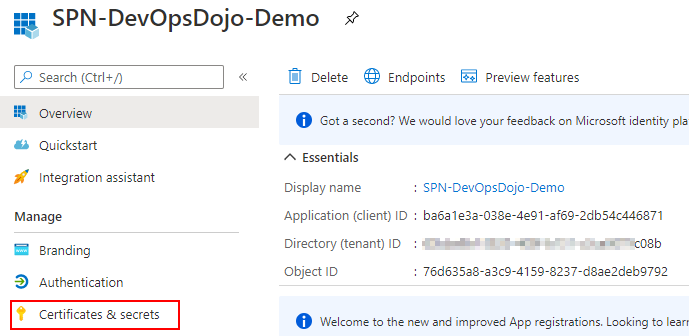
You will need to a create a Secret (Password) to Authenticate to this SPN.
Select Certificates & secrets
Select New client secret and add Description and Add
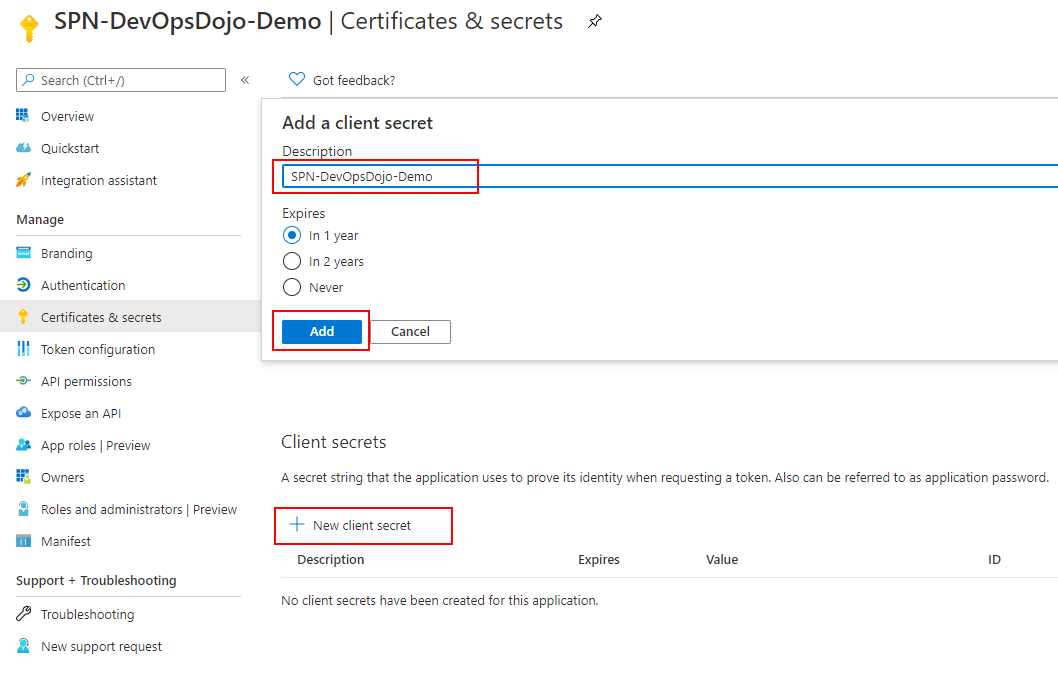
Save the Secret

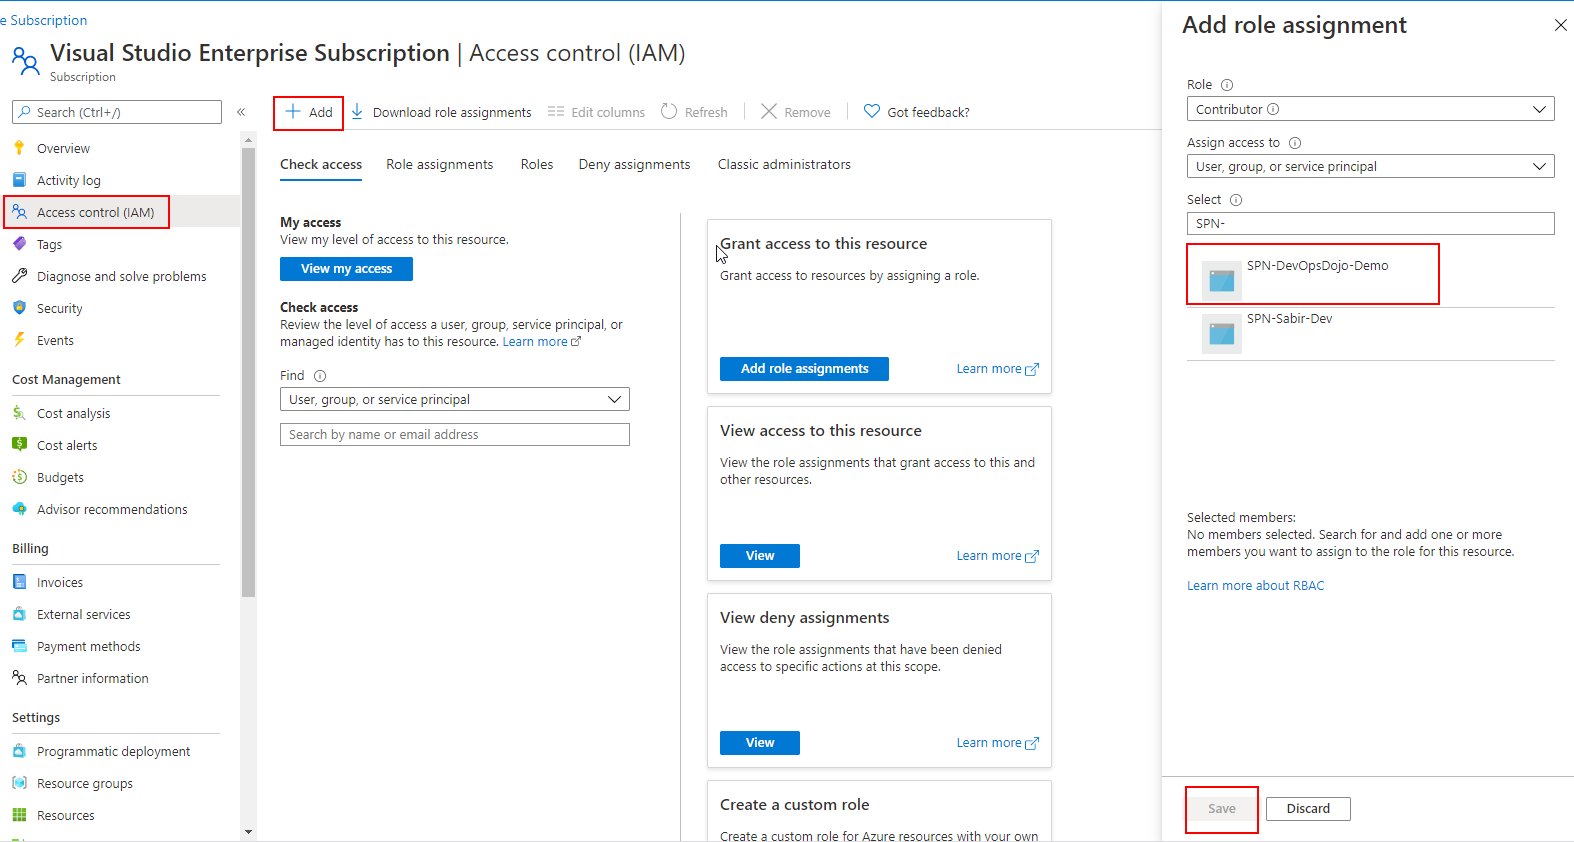
Now you have created an App Registration and a Client Secret, now we need to Assign this SPN Access to the Subscription
Navigate to Subscription Blade in the portal
Add and Select Contributor, Select the SPN you created earlier and Save.
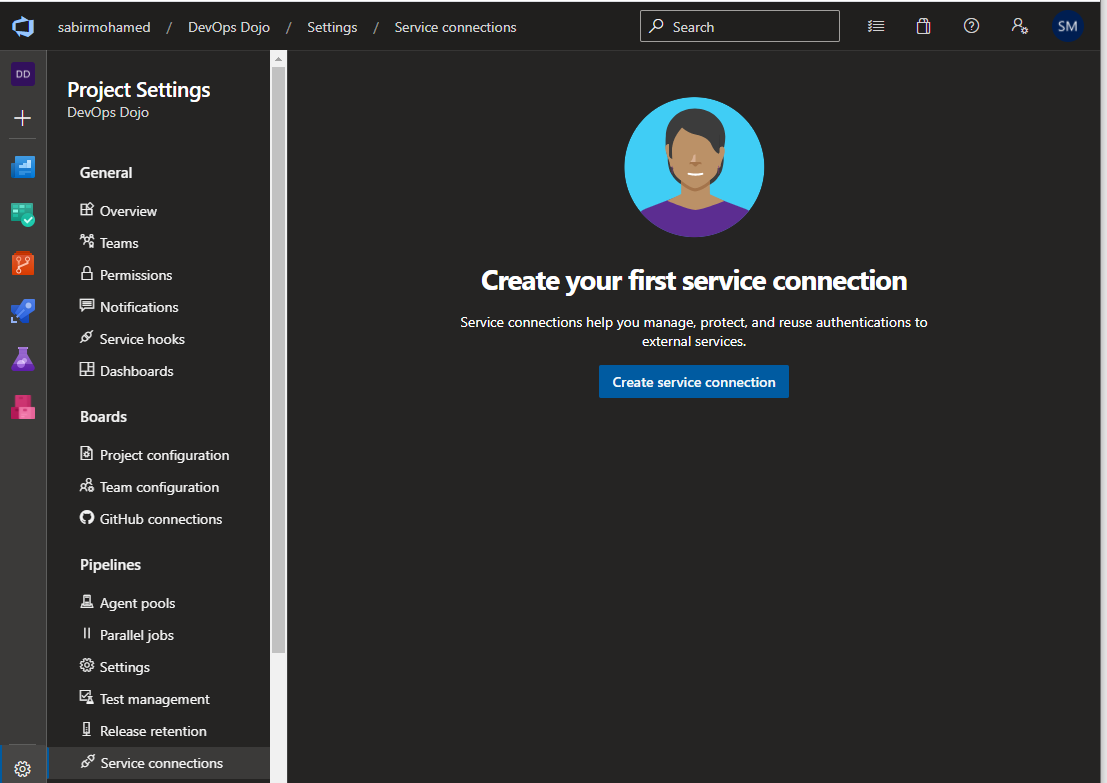
Create a service connection
In Azure DevOps navigate to relavant project, open the Service connections page from the project settings page. And Select Create a Service Connection
Select Azure Resource Manager
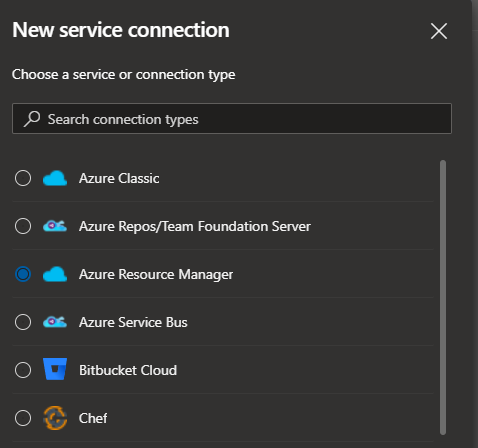
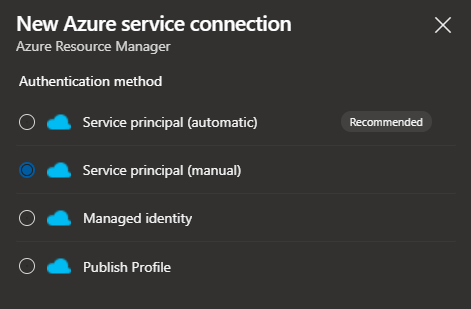
Now you can see that there few options to Authenticate to Azure Resource Manager
- Service principal (Automatic).
- This will create an Azure AD App Registration for you automatically and use it in the service connection.
- Service pricipal (manual)
- As you went through the process above in this article you know how to create a Service principal manually.
- Managed Identity
Is another type of service principal in your Azure AD Managed by Azure, There are two types of Managed Idenitities which is System Assigned and User Assigned. Check out the following links if you want to further learn on this Azure Managed Identities Explained in 5 Minutes by Azure Monk Managed Identity in Azure DevOps Service Connections
- Publish Profile
The publish profile is a file used to publish your web app or web job, it includes a username and password, it uses the basic auth to deploy your web app, if you use service principal/managed identity, it uses Azure AD authentication.
And we will authenticate using Service Principal (Manual)
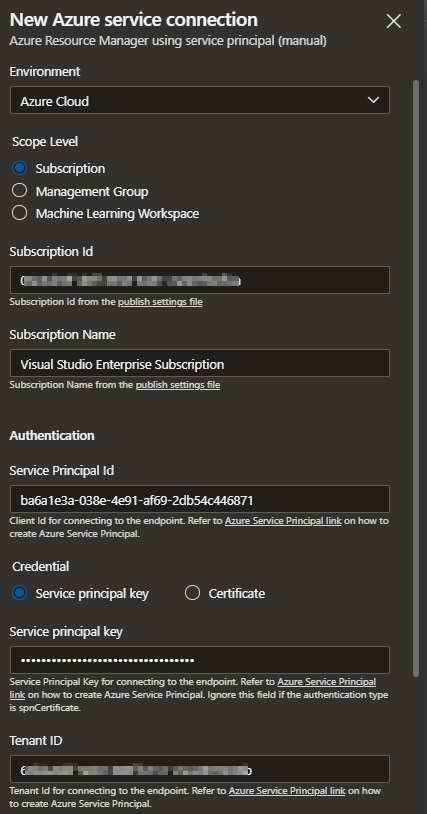
A Service Connection can be targeted towards a Management Group, Subscription, and Machine Learning Workspace.
We will create this towards a Subscription and Select Subscription provide the following input parameters
- Subscription Id
- Subscription Name
- Service Principal Id (App Registration Application (client) ID)
- Service principal key (App Registration Client Secret)
- Tenant Id
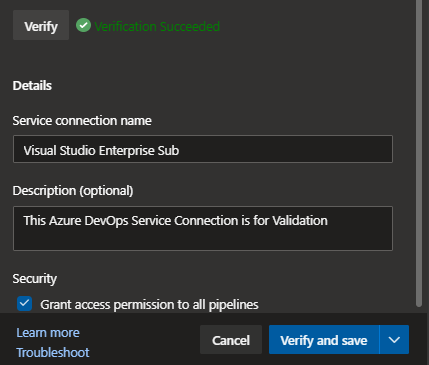
- Service Connection Name and Description (Optional)
After Providing the parameters Select Verify and it will validate the SPN and Secret you will see Verification Succeeded.
Check the box for Grant access permission to all pipelines
Next Select Verify and save
Validate the Service Connection again in the portal

Conclusion
- You Created an Azure App Registration (Service Principal)
- Assigned Contributor Rights and Added the Service Principal to the Subcription
- Created a Service Connection to Azure Resource Manager Authenticating via the Service Principal
- Verified the Connection
Now you can deploy resources to Azure using this Service Connection via Azure Pipelines
Next guide let’s look at how we can create the same process with Azure CLI using a Configuration File and eventually integrate this creation to Azure DevOps Pipelines and Assigning Pipeline Permissions.
Thank you for visiting my blog 👋